Uploading Files in Blackboard (Cont.)
You will now see 4 sections for the "Add Content" page: Content Information, Content, Options, and Submit. Each one of these will give you more control over the look and feel of your Blackboard site.
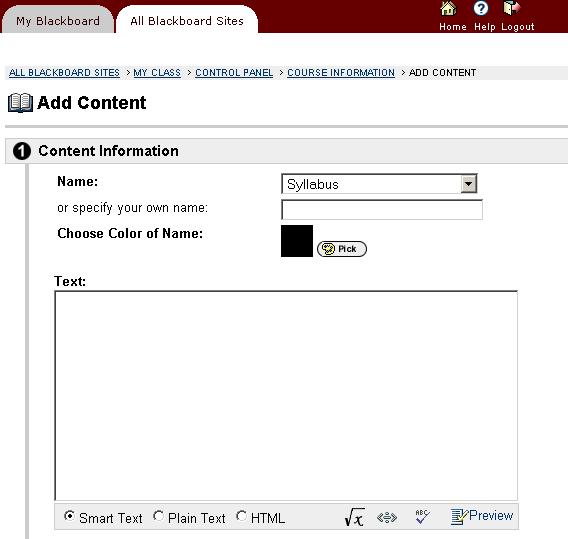
Content Information
In this section, you can choose what the file will be displayed as, and also the text color. You will also be able to add any descriptive text you would like to be displayed with the file name.
Content
Here, you will choose the file you would like to upload and then specify the name of the link to it. Also, you can choose how the file should be displayed. The three options are "Create a link to this file," "Display media file within this page," and "Unpackage this file."
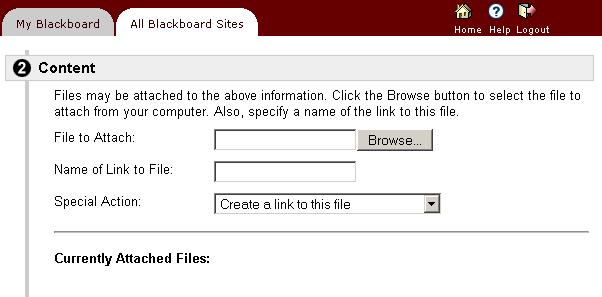
Each one of these has its own purpose:
- Create a link to this file will allow users to click on a hyperlink to view or download this file
- Display media file within this page will put the file directly into the page and users will see it right away and will not need to click on a link to download or view it.
- Unpackage this file only works with an archive (zip file) and will unpackage this file into all of the files it has. This is used to upload Microsoft PowerPoint presentations unto Blackboard and be able to access them.
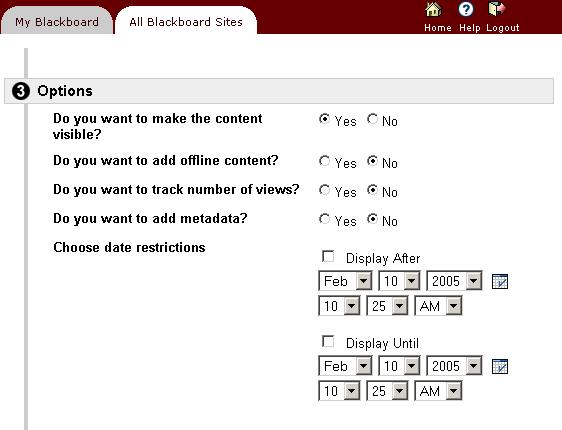
Options
Here, you will be able to choose specific options for the document you are uploading. The options are all self descriptive and you will be able to choose the exact combination you need for that document.
Submit
Finally, just click on the Submit button and the file and options you selected will automatically be uploaded to your Blackboard site. Congratulations!
1 | 2